

Installing BackupDrive on Windows
In this guide we will explain how to install "uLinky BackupDrive" on your computer.
System Requirements
BackupDrive 1.0.0 is available for all Windows operating systems that have Java 7 or later installed.
The lower table lists all system requirements.
| Operating system: | Windows 7, Windows 8/8.1, Windows 10 |
| Java version: | 1.7 or newer [Download] |
| Processor: | Intel® Pentium® 4- or AMD Athlon™ 64-Processor |
| Memory: | 2 GB (4 recommended) |
| Disk space: | 5 GB (20 GB recommended) |
Installation
 Before you install the program you should make sure that Java is installed on your computer. You can download Java here. An installation guide for Java you can find here.
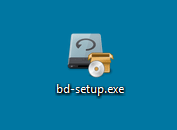
First, you need to download the BackupDrive setup program from the BackupDrive website.
You will receive the file "bd-setup.exe" (see picture), which you have to open to start the installation process.
Selection of the language for the installation
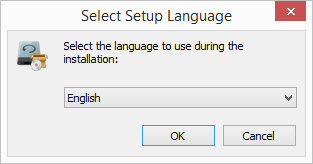 Here you can choose your language, which will be used in the installation program. Version 1.0.0 currently has 2 official language packs, witch are provided by uLinky.
BackupDrive uses your current language as a factory setting, which is the same language which you use on your Windows system, if it is also available as a language pack for BackupDrive. Otherwise English is set as default.
Here you can choose your language, which will be used in the installation program. Version 1.0.0 currently has 2 official language packs, witch are provided by uLinky.
BackupDrive uses your current language as a factory setting, which is the same language which you use on your Windows system, if it is also available as a language pack for BackupDrive. Otherwise English is set as default.
License agreement
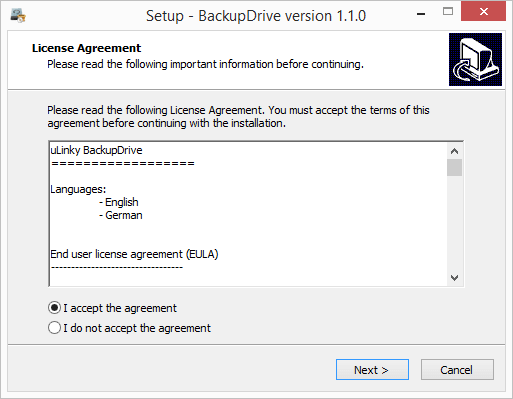 The End user license agreement (EULA) is a contract between the developer of BackupDrive and the user of the application. To install and use the software you have to accept them.
Select installation directory
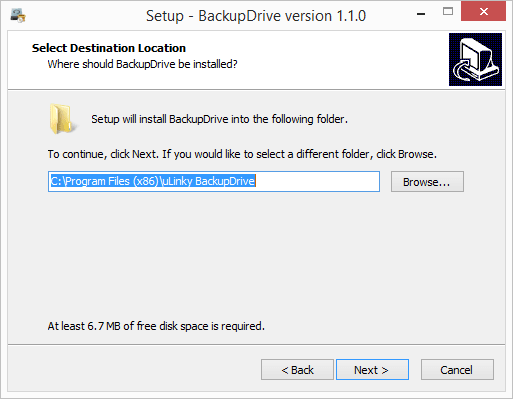 Now you can choose in which directory Backup Drive should be installed. By default, uLinky BackupDrive is installed in the directory "C:\Program Files (x86)\uLinky BackupDrive". The automatically set path should usually fit.
Set start menu folder
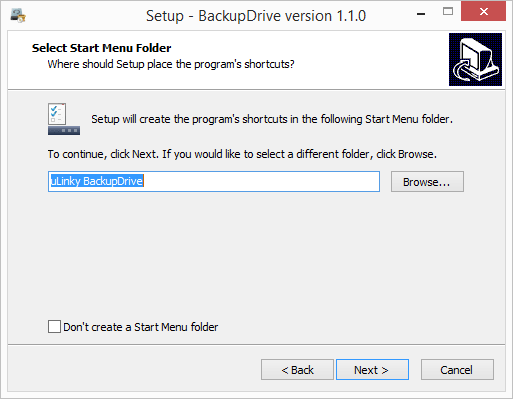 If you want BackupDrive listed in the Start menu, you can enter a name here. If you do not want this, you can uncheck "Create a folder in the start menu".
Click on "Next" to get to the next step.
Create a desktop shortcut
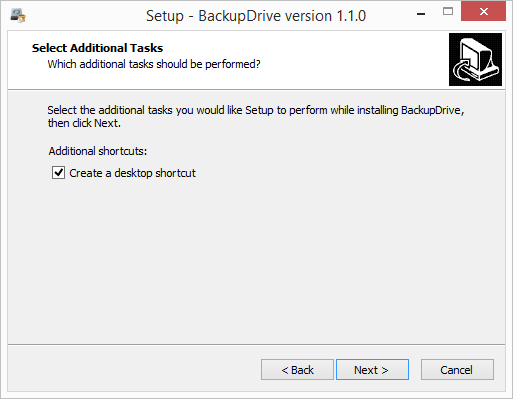 Now you can create a desktop shortcut to open BackupDrive more comfortable. By default, this is already enabled. If you do not want an icon on the desktop, you can uncheck it.
Click on "Next" to confirm.
Summary of the installation
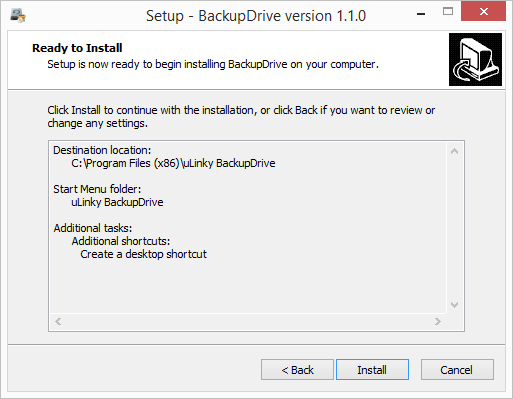 Now you will get a list of all settings for the installation. You can now check if all settings are set correctly and correct them if necessary.
Click on "Install" to install the program on your computer.
Installation completed
 Congratulations! You have successfully installed BackupDrive. If you want to start BackupDrive right away, you can check the box at "Start BackupDrive" and complete the installation by clicking on "Finish".